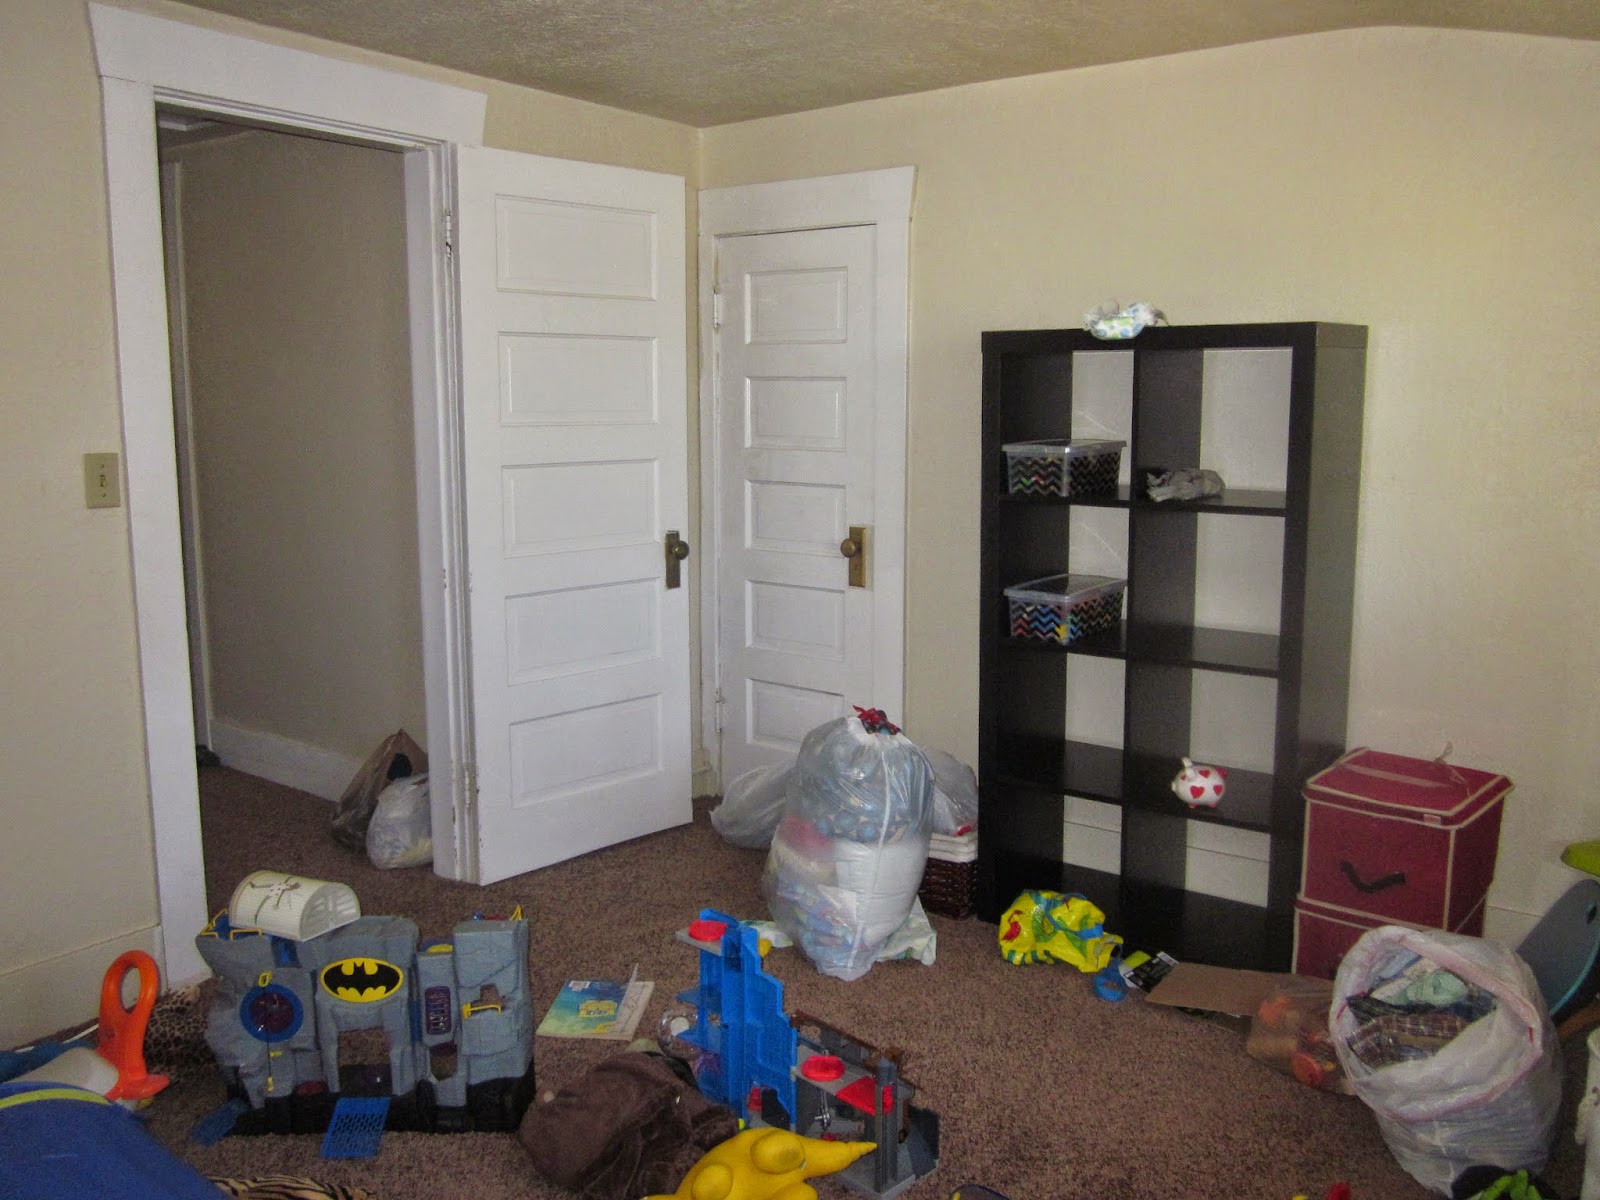
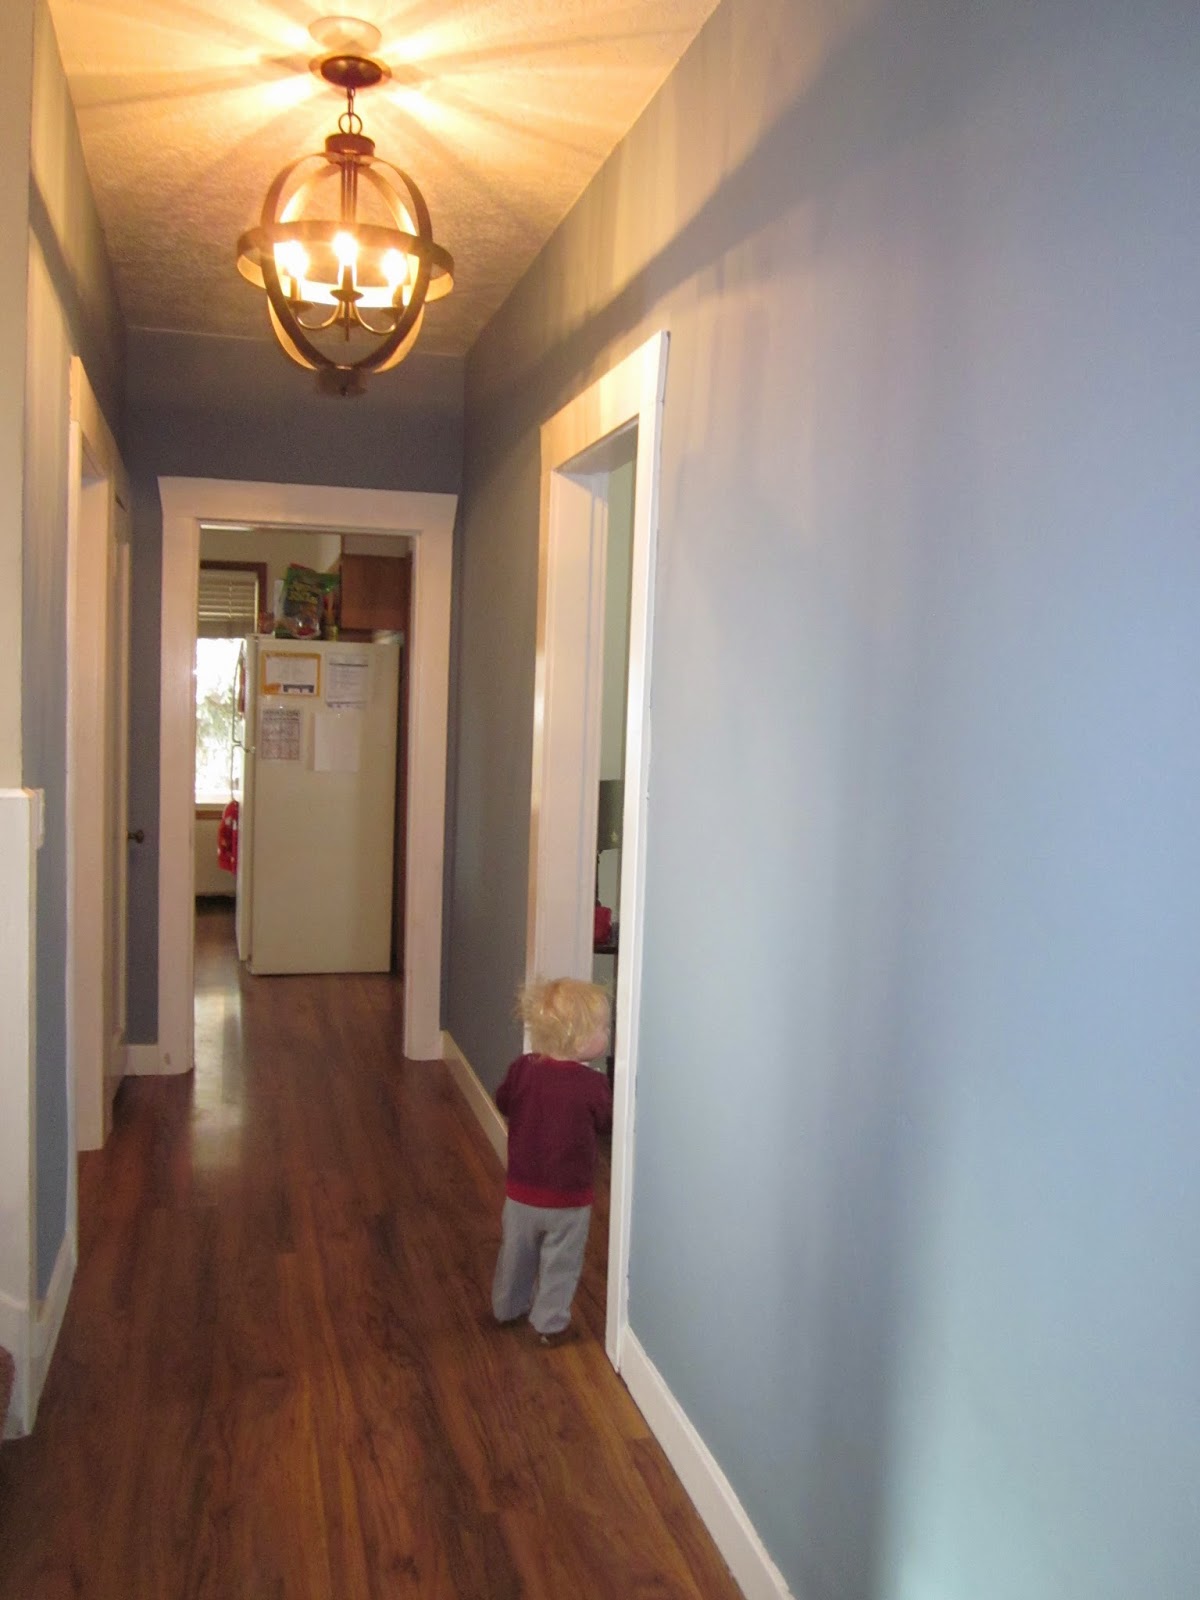
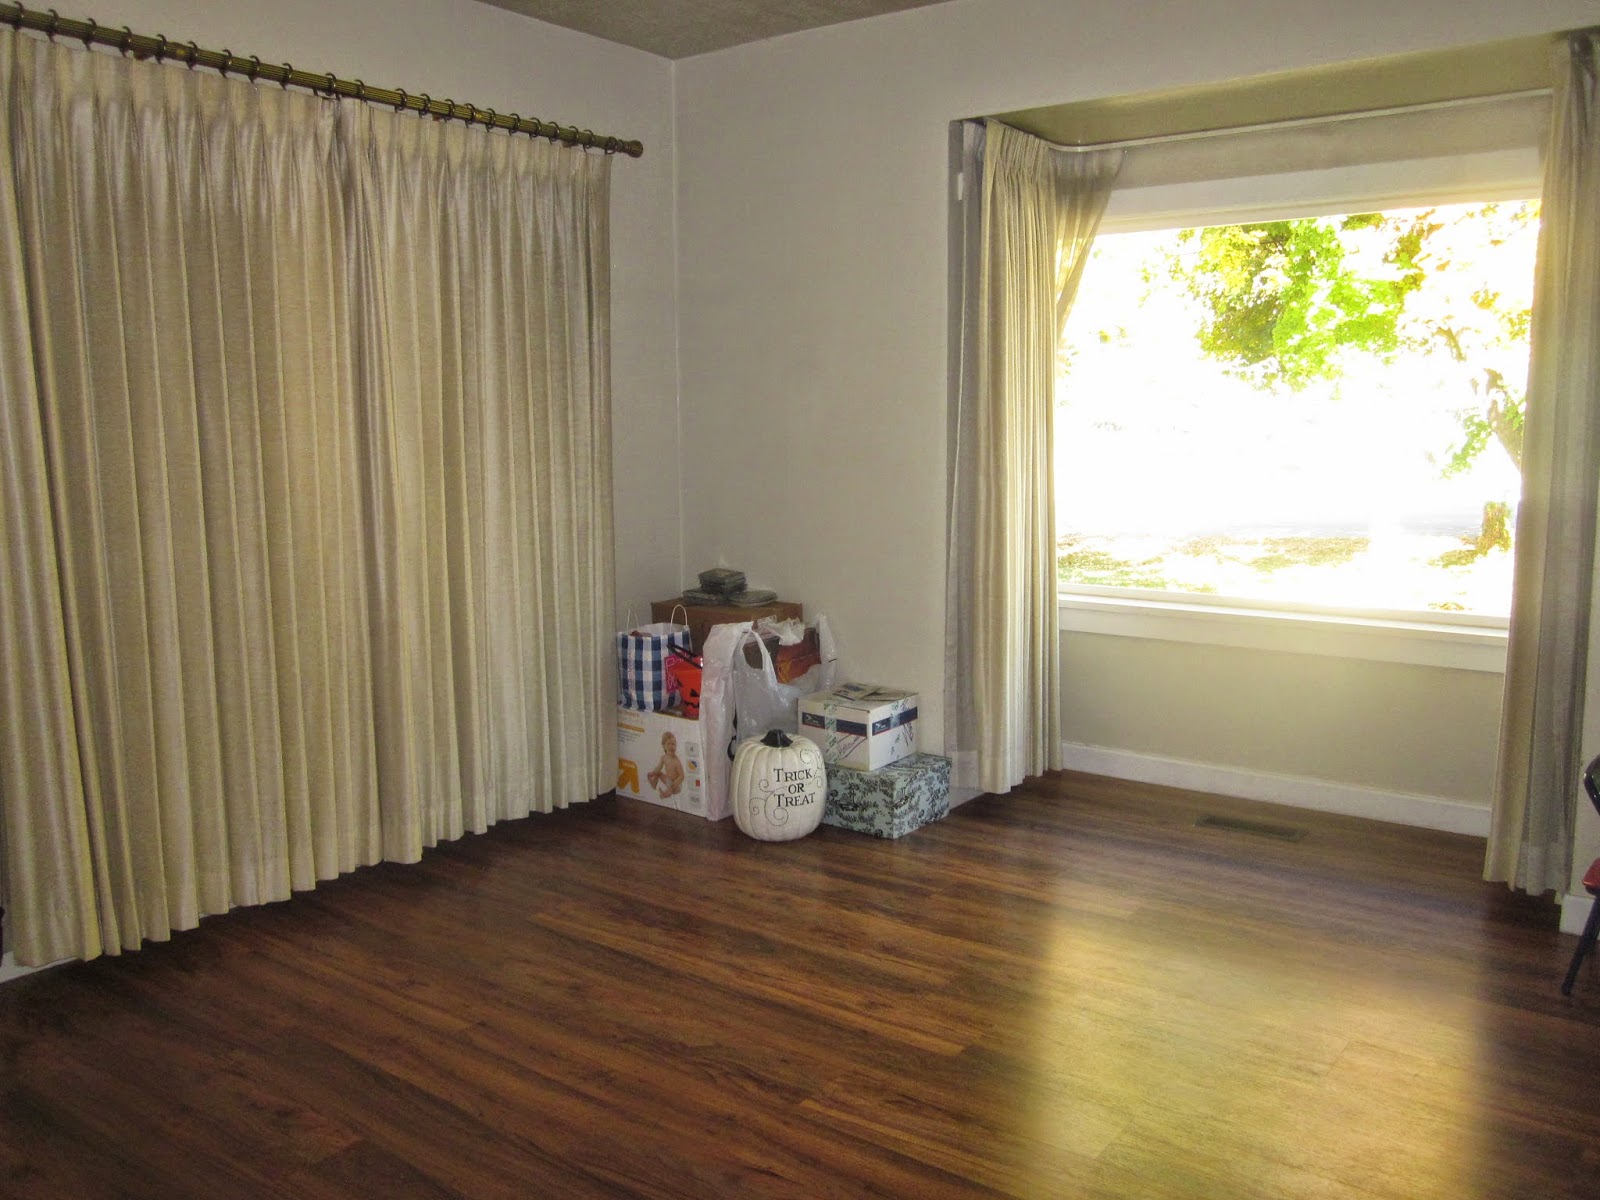
This is Caden's room so far....
at least he has a bed,
and some toys and books...
but this room needs some color
and life brought to it!
(and something to keep those toys organized!)
Before I could add any paint to his room,
I had to do A LOT
of prep work.
Notice all the cracks in the old plaster wall?
I became a "crack addict" after
beginning this project...
I walked around for days
looking for cracks ALL over the house.
I wanted every crack gone!
Any cracks, gaps etc must be fixed before you
paint the walls...
or it will look like a HOT MESS
when complete!
STEP 1: fills gaps/cracks with spackling compound.
I just used my fingers, but you can buy tools
to apply the spackling compound.
STEP 2: If the spackling compound is bumpy, or if it is
noticeable that you filled-in a crack,
than you will need to lightly sand over the
DRY spackling compound to smooth it out.
STEP 3: Paint over the DRY spackling compound.
If you are using the same color that the walls
are already painted, than just paint over the
DRY spackling compound
(you do not have to paint the entire wall).
If you are painting the room a new color than simply
paint the entire wall/DRY spackling compound
It's as easy as this picture looks!
This is a gap between the trim and the wall
(pic on left),
which is very common in old homes.
Fixing this will take a few minutes and will
make the paint job look 100x better!
(pic on right is after I repaired the gap with Spackling compound)
All the gaps and cracks are now filled and ready to be painted!!


.jpg)