Saturday, September 5, 2015

China Cabinet Transformation


Our kitchen had a very outdated china cabinet...complete with glass sliding doors
and scalloped edges.

There was only so much we could do to
it because it was attached to the other cabinets 
and the middle scalloped wood piece was 
providing support for the shelving.
The box-like structure
Sticking out in the middle of the shelving is the 
old fireplace chimney flue.
(Our house has 4 chimneys, because that's how they heated the home in early 1900's) 

SO, we decided to update it as much
as we could with those stipulations.  

Here is its transformation thus far!

Glass doors and a mess on the shelves


partially painted...with sneak peak of the partially finished cabinets!!

A little more paint

In process of adding trim to cover scalloped edges

Glass doors gone, plastic door tracks gone, scalloped edges covered and completely painted

BEFORE & AFTER


Monday, August 31, 2015

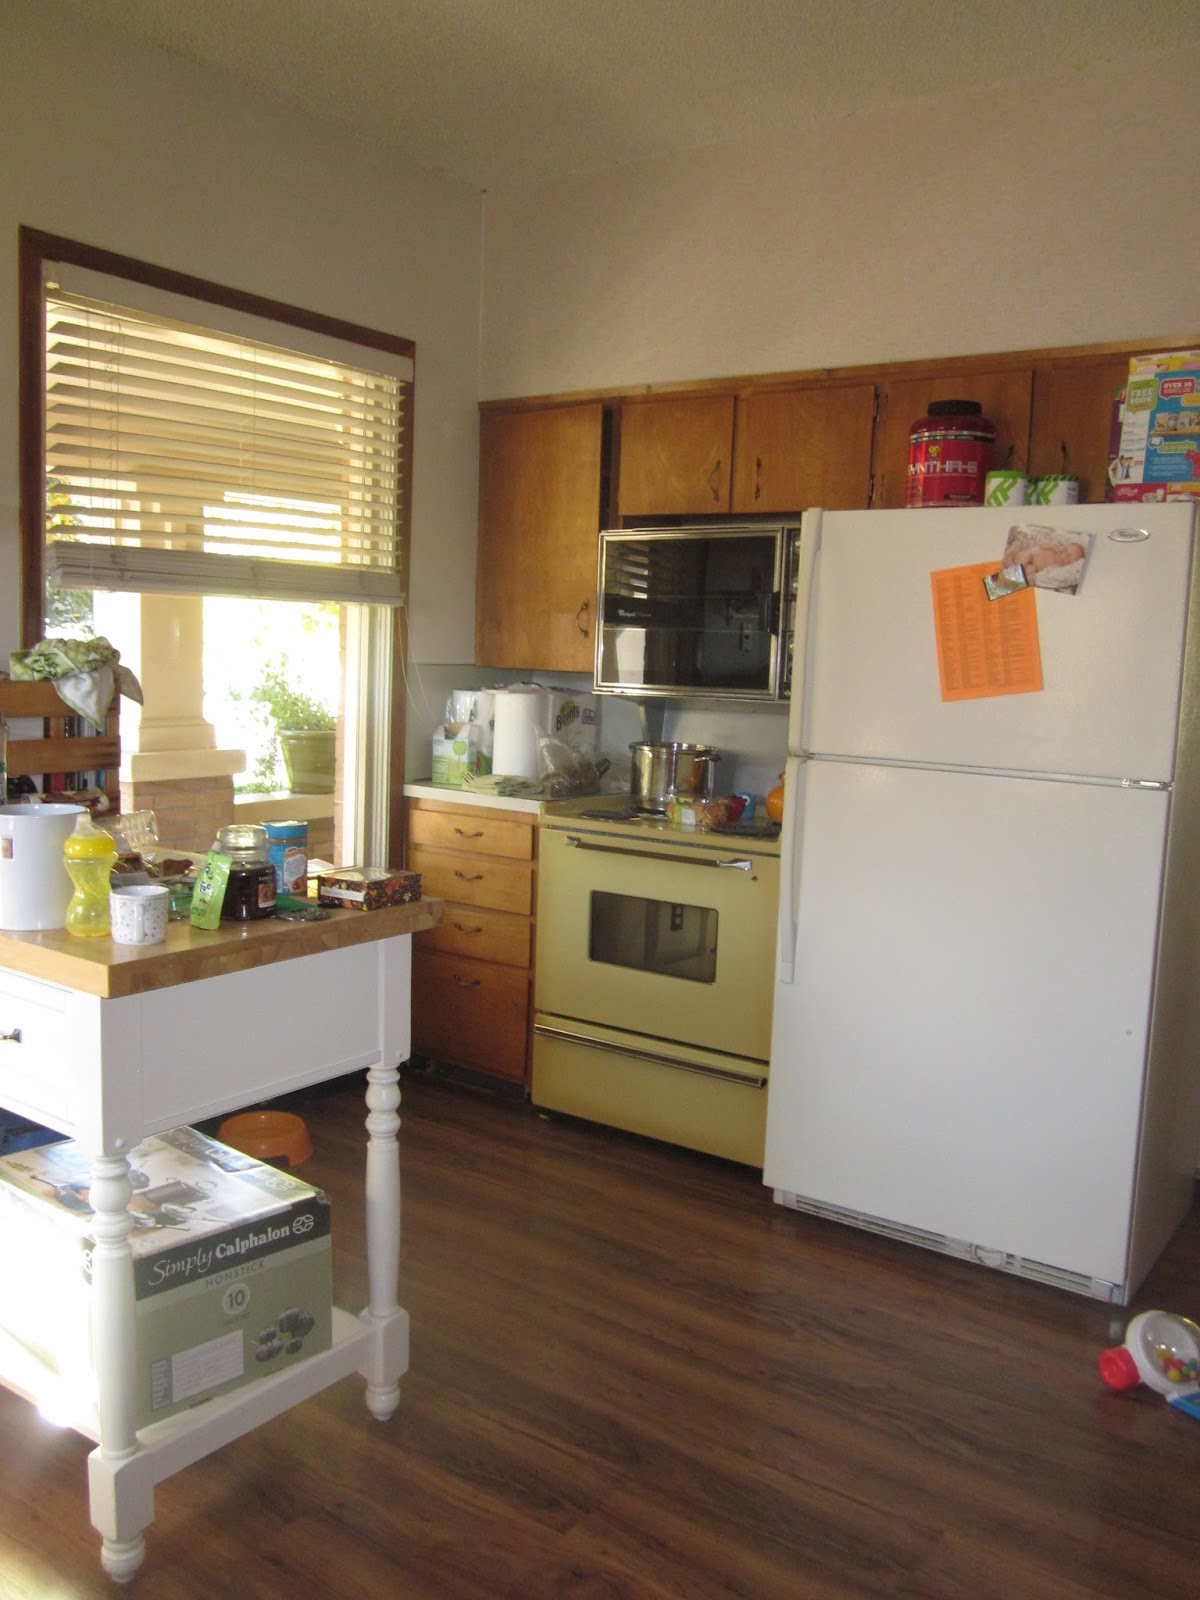
Kitchen BEFORE

Before we even started the bathroom reno,
we began the process of revamping the kitchen.
But, the kitchen cabinets took a little bit longer
than I thought they would...
so both of the renovations were happening at the same time,
and oh my goodness it has been messy, dusty and chaotic.

But as the renovations have progressed,
I have became more motivated 
and I feel like I have gone into some sort of 
"nesting" mode.

Anyway, here is the BEFORE of the kitchen:
3 different wall coverings in one space...

our $85 craigslist oven!

North side of Kitchen

Doorway to dining room and doorway to hallway (Blue paint)

2 different types of floor trim on top of each other

That is a little piece of psychedelic carpet that must have been left
when the previous owner updated the flooring...


South side of kitchen


East side of kitchen


yellow cast iron sink


View from dining room

view from hallway


The cabinet hardware was rusty and had sharp edges

The drawers had the same hardware as the cabinets

The cabinets were hung in the 1970's 

some sort of china closet with glass sliding doors and scalloped wood edges

Let us not forget the yellow double oven that we used to have...may she rest in peace!

I cannot.wait.for.this.room.to.be.DONE!


Wednesday, August 19, 2015

Bathroom Reno in Process

I always wonder what the inside of our home
has looked like over the past 98 years...
What kind of wall paper did they have?
What did the kitchen look like before
the "renovation" they did in the 1960's?
What kind of flooring was in the bathroom?

Well, I can now answer what kind of wall
paper was in the bathroom, and what kind of flooring they
once had under the current linoleum.


Do you think this bathroom had that floral wall paper 
(in the right hand pic)
the same time they had that checkered green and brown flooring?
I hope so!! Ha

Here are the step by step changes our bathroom
has had over the past few days!!
 Step 1: remove old vanity, mirror, light.

Step 2: remove linoleum and parts of the sub floor ruined by water

Step 3: remove plastic wall covering

Step 4: lay new hardy backer flooring and patch the gaps between old and new

Step 5: Lay ceramic hexagon tiles

Step 6: Install bead board, new piping (ours was rusted into "on" position)
and install new vanity....

Everything was going smoothly until step 6,
when our contractor was installing the vanity.
The drawers in the vanity were at the exact same height 
as the water pipes, therefore they ran into the pipes when they were closed.

So, we decided to get a different vanity...
and I am kinda happy the white vanity didn't work,
because after we brought the white vanity into the bathroom,
I no longer liked it.
It was too much white, nothing stood out.

The new vanity we picked out did not go with the 
mirror or light we had picked for the white vanity.
Therefore,
As of last night, I have totally redesigned this bathroom.
The vanity light,
the vanity,
the mirror
have all been returned and
the new mirror, light and vanity
have been picked out...

And I am more excited than ever!!

Sunday, August 16, 2015

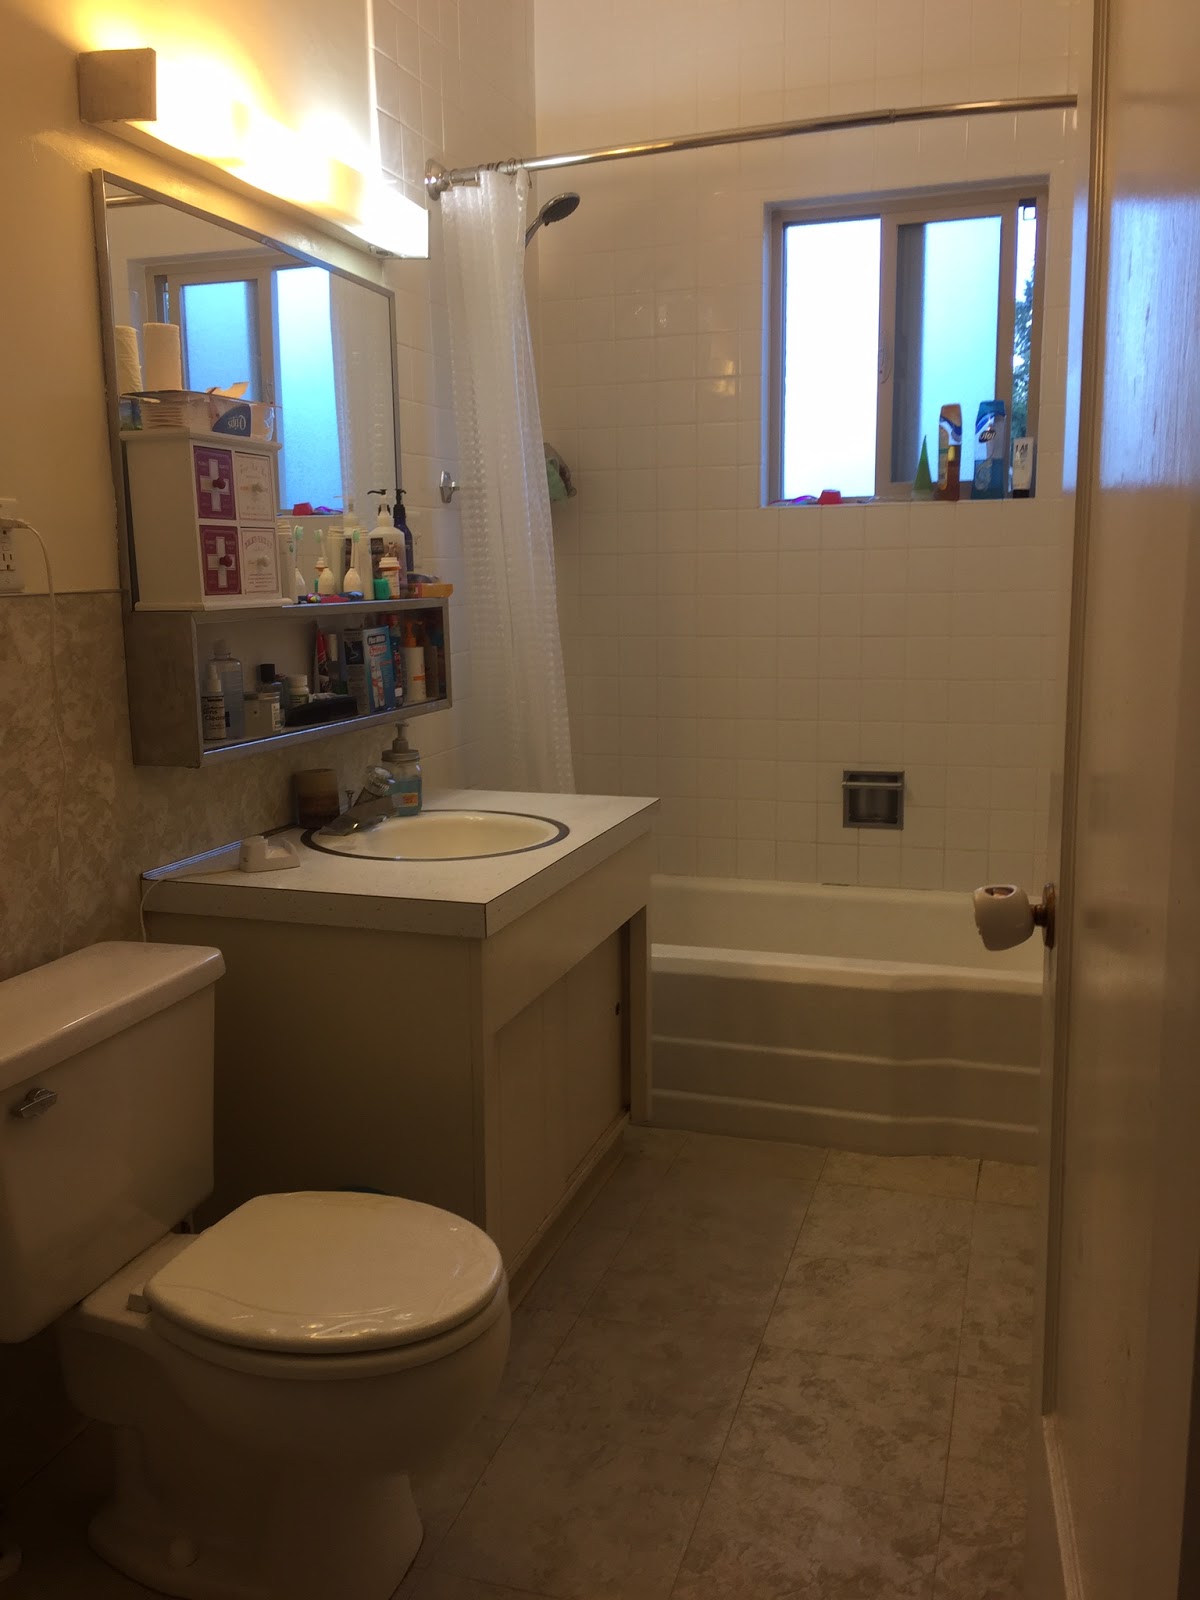
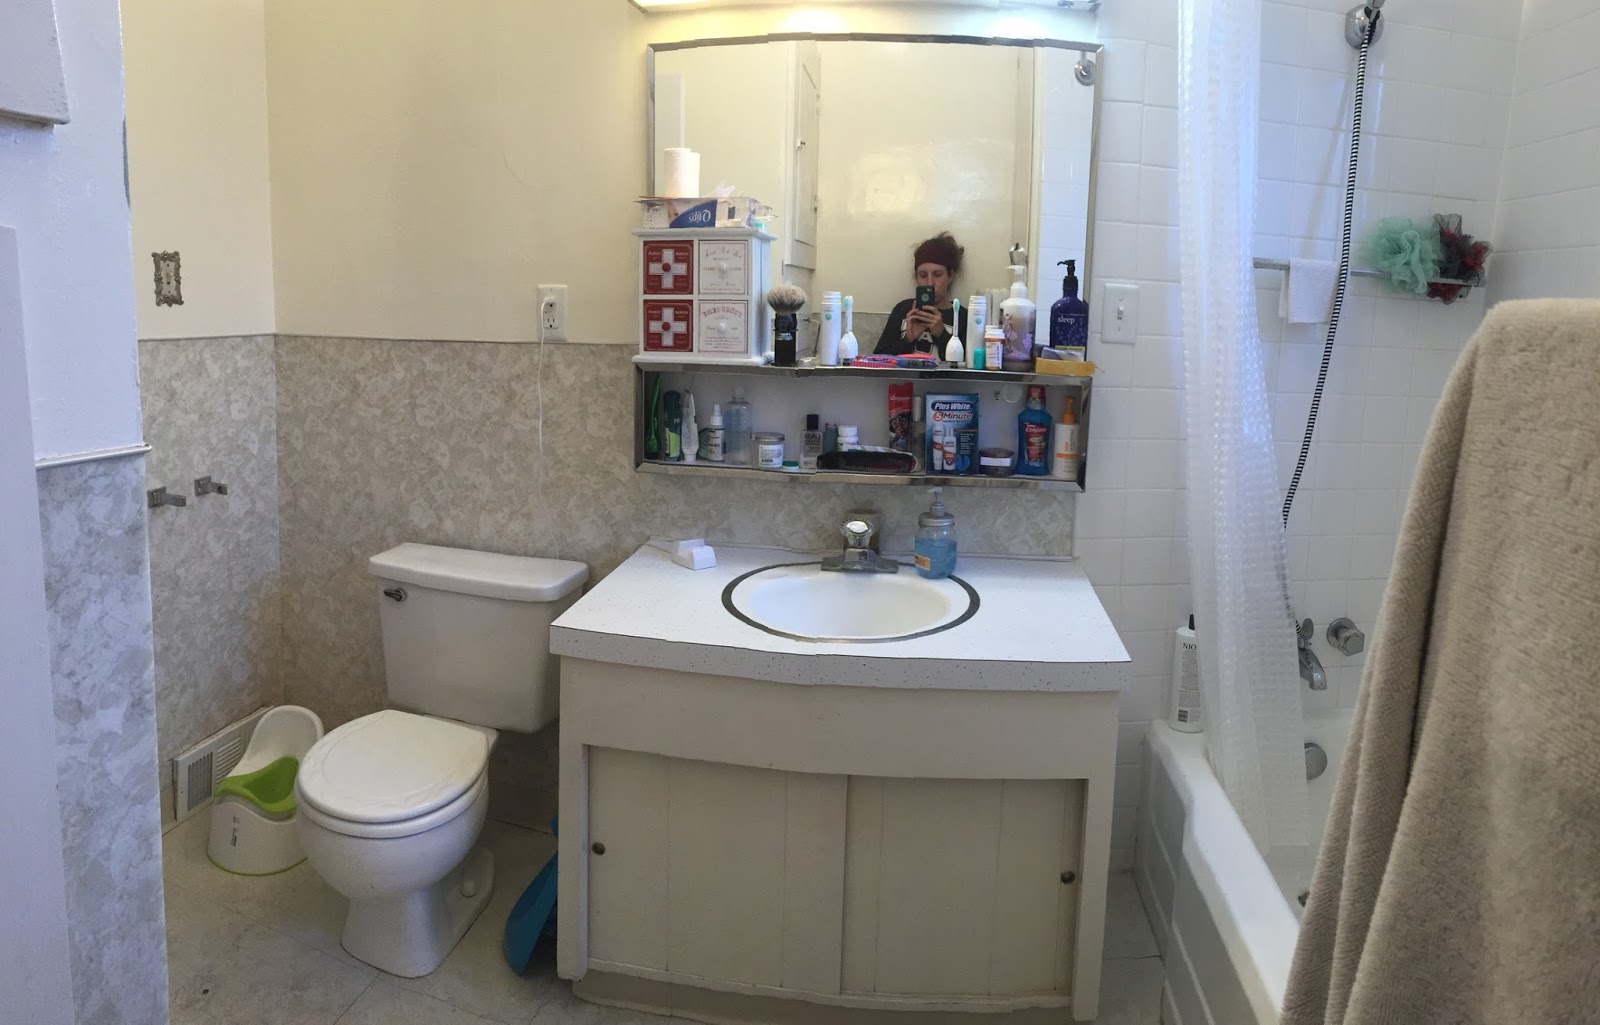
Bathroom Before

The room needing the most "Love"
when we bought this home was def 
the main bathroom!
And since I have no clue how to 
do any sort of plumbing 
or tile work
we decided to hire someone for this project!

We decided to hire the same
guy who did the framing for the playroom:
(See that project here: Adding a 4th room )
He did an awesome job on the framing,
and he has become our friend...

We are doing a full gut job of the bathroom
(Minus the tub, which was recently retiled w white tile by previous owner).

Floors will be tiled,
new vanity installed,
new plumbing because ours is green-rusted into "on" position under the sink,
new mirror hung,
new vanity light installed,
new trim,
4 foot bead board installed on all walls!

I have done a lot of planning and re planning of this room
and I cannot see how this looks!


Renovation begins Monday!


BEFORE:


Friday, August 14, 2015

Shiloh's bedroom Before vs After

BEFORE:


AFTER:
This second picture was after I finally got the Andrew McMahon
Song quote print...(instead of the tulip pic the frame came with)

"For all the things my eyes have seen, the best by far is you"
That is what the song quote print says...I love it!
I also love that it looks like an eye chart!

BEFORE:

AFTER:

BEFORE:


AFTER:

AFTER:


I love all these old door knobs and key holes this house has!
"Alice in Wonderland" Meets "Fantastic Mr Fox"
 

One of my favorite things about Shiloh's room is the view!
I knew that Shiloh's room would look better, but I had no idea what a difference this paint
and some simple decor would have.   
This may be my fave transformation yet!!

For cost breakdown see this post: